Tag: rust

Water Tower and Distilling Plant

Water Tower #1

Click on the image to open it at a larger size in another window.

This is the last set of brackets I was able to shoot when I was on the abandoned distillery this week. Right after these shots were taken the caretaker arrived and asked me to leave.

I shot four exposures of this scene and then merged them in NIK HDR Efex Pro 2. I’ve discovered that using the anti-ghosting at 100% is not necessary and can even cause serious halo issues with bright area such as the sky. I dialed it down to 20% and the results are much better. I really don’t have a lot more to say about this image.

1948 Pontiac

1948 Pontiac

I went back into the vault for this image. I shot this several years ago but I had never done anything with the image. The original file is a little overexposed and judging by the shadows it was probably shot in the middle of the day. I liked the camera angle but the colors were very washed out. I wanted to try a psuedo HDR approach to see if I could give it some depth.

Yesterday I started by using NIK HDR Efex Pro 2 on it to see what I could create. I tried several different presets and finally settled on Deep 2 as the start point for finishing the photo. I then adjusted several sliders which really brought out the clouds as well as revealing the green reflections under the headlight. Some times when working on an image with the adjustment slider I will simply grab the slider and move it all the way to the right or left to see what happens. Most of the time it is way too much but I liken it to having an eye exam where the doctor places two sets of lenses in front of you and asks “better here or better here?” when trying to find the right combination for your vision. Once I know what the extreme effect is I can then decide whether to use that adjustment slider or not. If the effect is in keeping with my vision for the image I can then dial it down and fine tune it’s effect.

I was pleasantly surprised at the way the sky came to life after the initial adjustments in NIK HDR Efex Pro 2 but there was still a problem area on the left side of the image. Just to the left of the headlight there was a red car that was drawing my eye away from the rest of the image. I returned it to Aperture 3 and then I took the image into NIK Vivesa 2 where I used a couple of control points placed on the red car to desaturate the red of the car. After that I took the image back into Aperture 3 and finished it with a little tweak to the vibrancy slider and some minor sharpening.

Alabama Morning

Alabama Morning

These Fords were in a wrecking yard in Alabama a couple of years ago. The cars I find in the southern states have a much different patina of rust on them than the cars out west of the Mississippi River do. The climate in the south is much more humid and therefore the rust is more agressive. The oxidation process creates a much rougher surface which in turn traps more moisture that then eats away at the metal more aggressively.

I liked the way the early morning sun was lighting the scene and how it really emphasized the texture on the 1949 Ford in the foreground. The contrast of the smooth chrome and glass in the headlights really caught my eye. The cars are framed to in a typical rule of thirds composition and the rust on the roof in the background draws the viewer’s eye back in the scene while reinforcing the colors of the cars.

There wasn’t much I needed to do in processing to get this image finished. I used a little of the Spicify preset in Topaz Adjust to punch up the texture and saturate the colors before returning the image to Aperture 3 for final sharpening and output.

Freebird

Chevy
Freebird

This image is another pseudo HDR I created a couple of years ago using  Topaz Adjust. The advantage of using these plug-ins is that they can often salvage an otherwise flat image and allow me to create something rich and dynamic. The ability to extract information and enhance the colors and details within the original file is the main reason I started using them. I don’t think they are an answer for every situation, if the image is poorly composed they won’t help it, but if the exposure range is too extreme they can be invaluable and allow me to rescue my original idea for the photo.

This image works because of the composition which adheres to the rule of thirds. By giving the car the bottom two thirds of the frame and placing the hood ornament at the intersection of the of the upper right third of the frame the viewer’s eye is directed there. The colors of the sky reflect in the chrome and tie the blue of the sky into the dark browns and oranges of the rust on the car. The yellowish orange of the clouds further emphasizes the complimentary color scheme of the photo too.


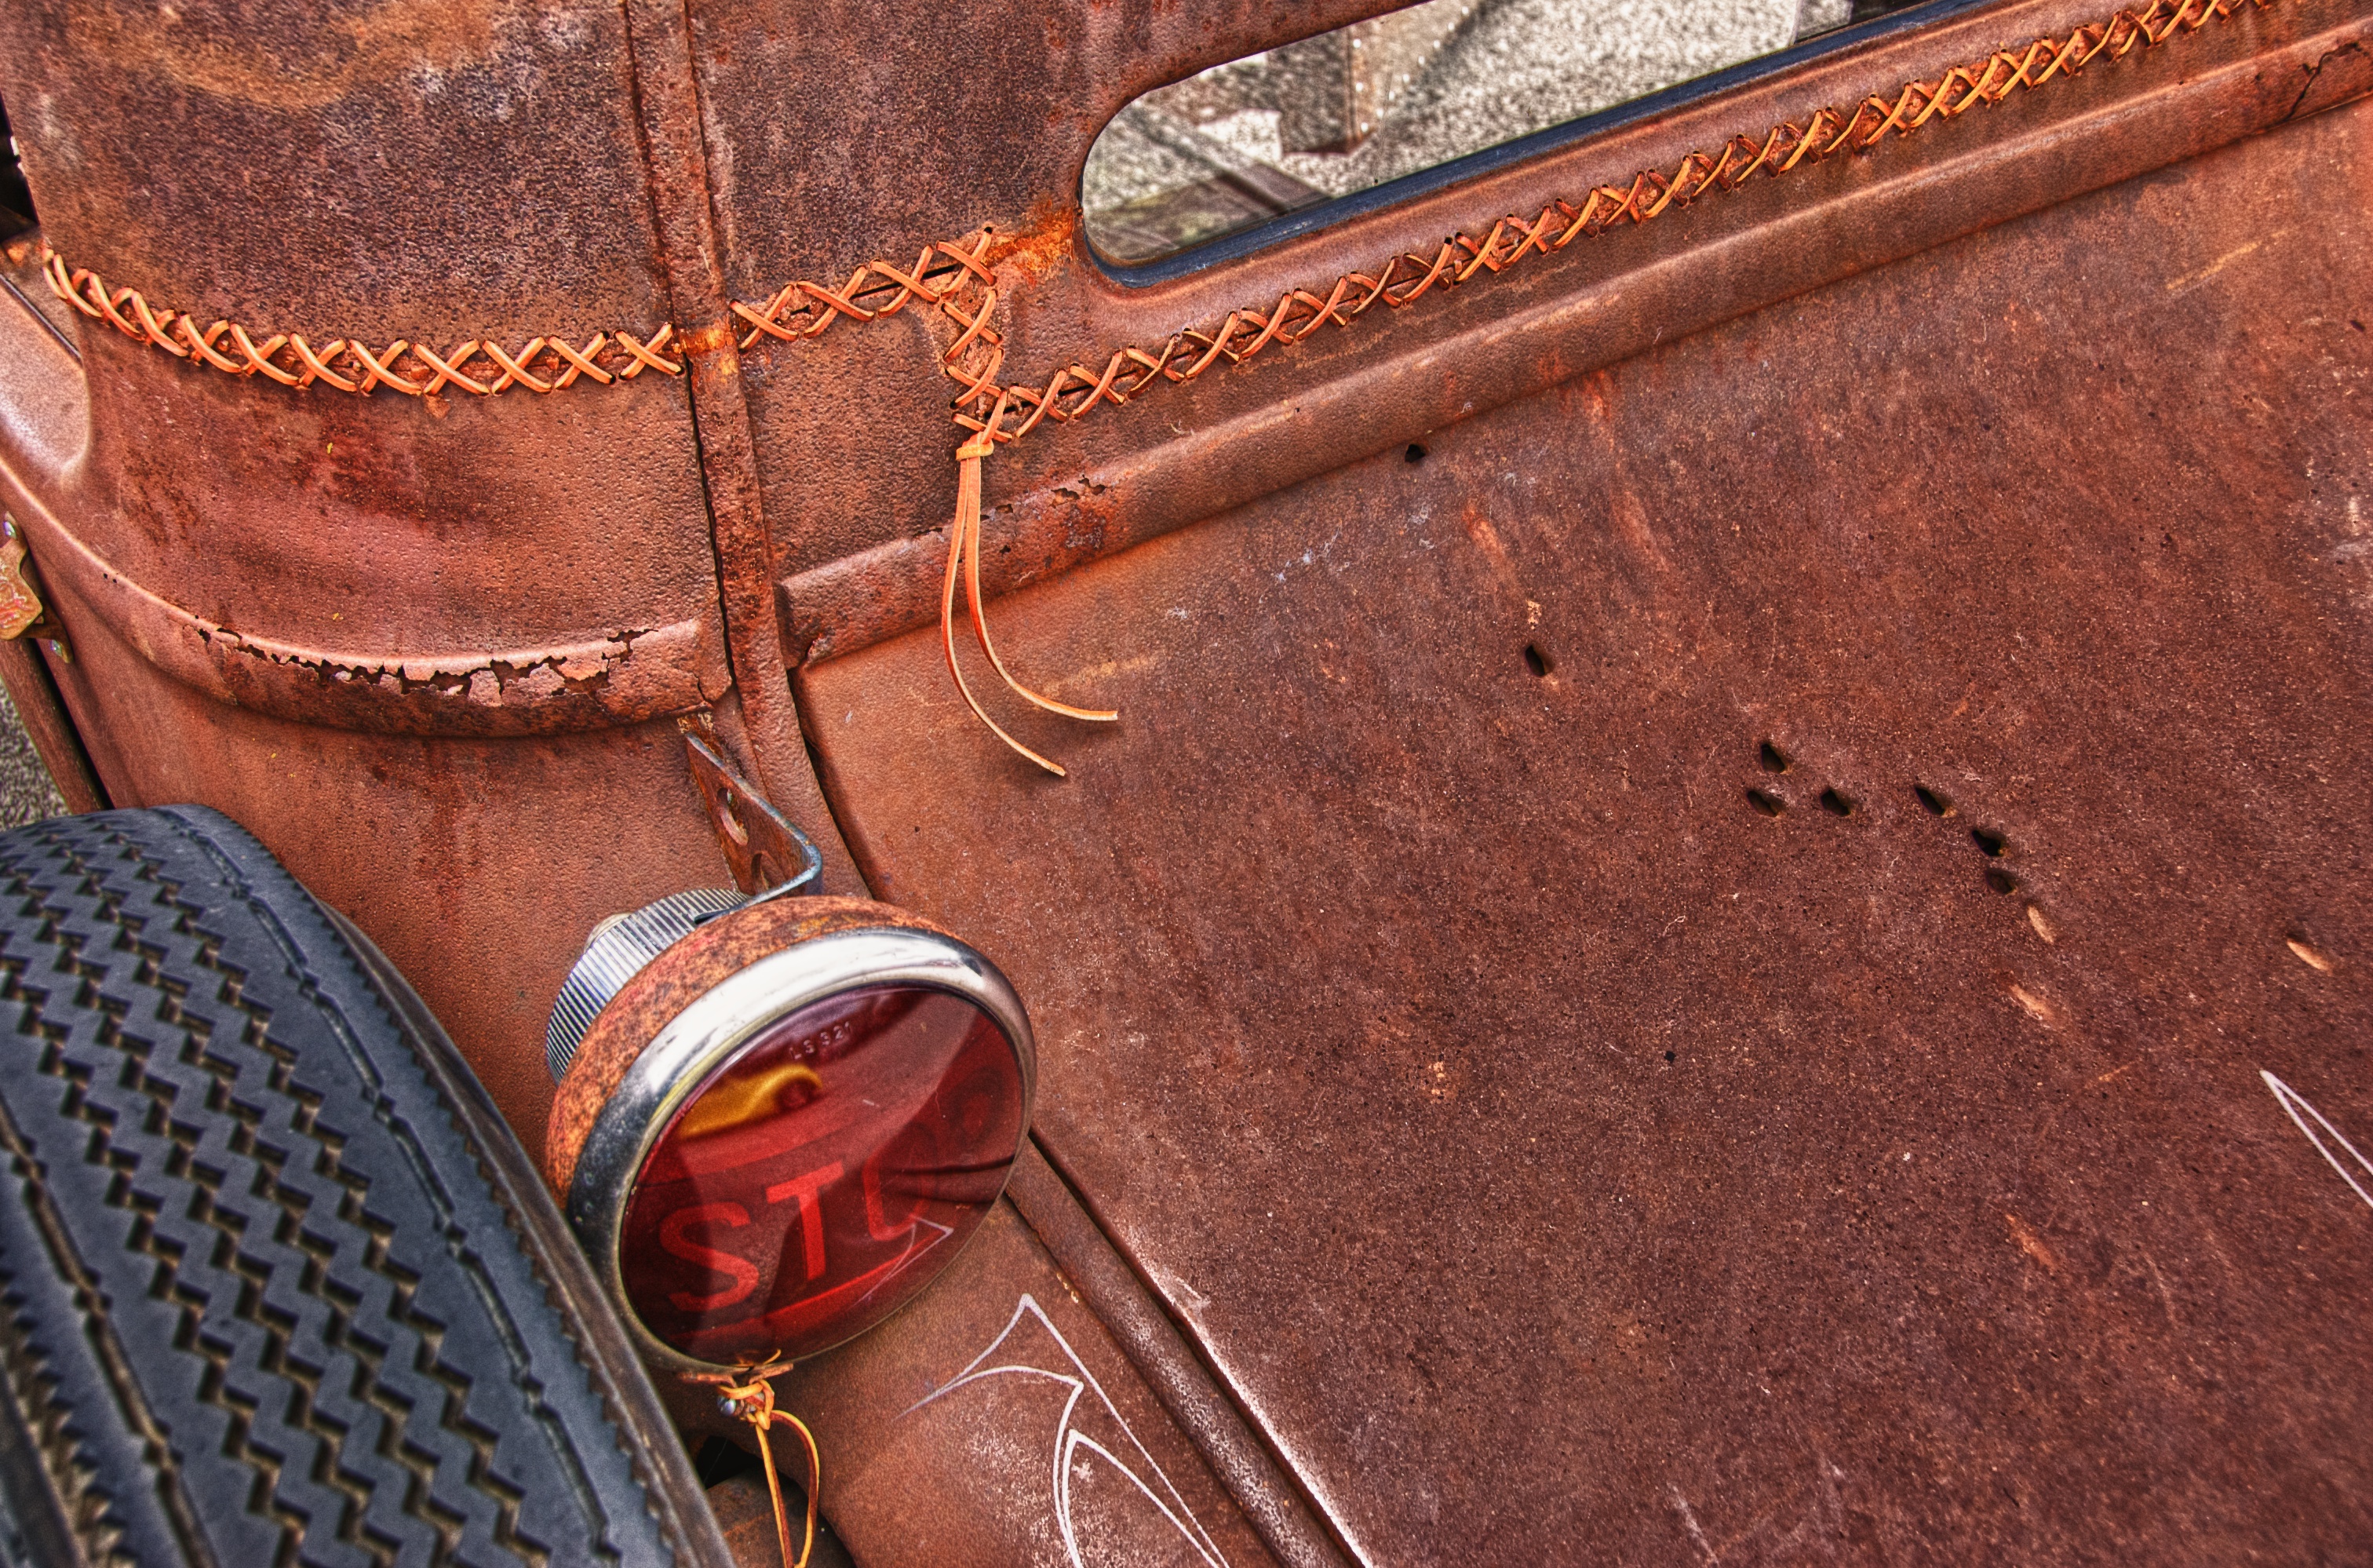
STOP!

STOP!

I found this car at a local car show. I have never seen a top that was chopped and then laced back together but the rat rod crowd does some interesting fabrication. I liked the way the rusted patina of the car contrasted with the slick finish of the yellow car reflected in the stop light. I thought the inclusion of the bullet holes in the rear deck lid helped add interest to the right hand side of the image.

I framed it in as a classic rule of thirds placing the red light at the intersection of the lower third section and the left third section. I processed this image using the NIK HDR Efex Pro plug-in and finished it in Aperture 3.