Tag: reflections

Buick Fireball Eight

At the NSRA Streetrod Nationals you will see many creative uses for vintage engines. This Buick Dyna Flash Fireball Eight is one such engine. It was installed in a Reo roadster which made it a very unique combination. The car itself was a faint pastel green and the engine was this fantastic deep jade green with white lettering. I wanted to capture the paint job on the engine because it was as finely detailed as the overall car. All the raised lettering that was stamped into the spark plug cover really caught my eye because it had all been perfectly hand painted.

Once again I am trying to show how by taking an entirely different approach to a subject, that I have been photographing for over 40 years, I was able to come up with a unique image that I hope will resonate not only with car people but with anyone who appreciates streamline influenced art deco design.

I chose to frame it diagonally to move the viewer’s eye through the frame from left to right. I used Aperture 3 and NIK HDR EFex Pro to saturate and intensify the color in the image.

Reflected Beauties

As I posted yesterday sometimes a photographer needs to try a different approach to a familiar subject. I attend several car shows every year in search of memorable images of automotive art. Given that there literally thousands of photographers who share my passion for early automobiles it is a daunting task to find a fresh way to showcase these vehicles. For this particular photo shoot I decided to focus on using reflections to capture the essence of the Streetrod Nationals.

This image shows the beauty of a traditional 1940 Ford coupe and a 1938 Chevrolet reflected in the side of a 1940 Graham sedan. The Graham is a nontraditional vehicle for the streetrod scene which is the reason I chose it as the main subject for this image. I found the juxtaposition of the reflected cars with the beauty of the lines of the Graham to be compelling enough to warrant exploring using the reflections as the main theme of the image.

I processed the image in Aperture 3 and Topaz Adjust to saturate and intensify the colors and details in the scene. The composition is another case of using the rule of thirds to balance the image. The strong foreground elements of the Graham fender and the reflections in it help to draw the eye into the image while the repetition of the Ford and Chevy in so many surfaces unifies the composition as well. As you view the image try to see how many times the Ford and Chevy are represented in the image.

Reflections of a 1946 Mercury

Last year I decided to shoot reflections at the Streetrod Nationals here in Louisville. As I worked that weekend I noticed that many times I was a part of the scene before my camera. I started playing with the idea of producing a self portrait within the reflections on the cars. This particular car caught my eye because when I was a kid in high school I owned a 1946 Mercury Coupe. My car was a deep green color but before it was painted green it had been maroon in color. I thought it would be fun to see what possibilities this particular car offered for utilizing the reflection to create a self portrait. I settled on this image as the best of the lot with this car.

My point with this post is that when I take my camera in the field I like to have some concept or theme when I’m shooting a subject that I’ve photographed literally thousands of times. By making reflections the overall concept of that weekend’s shooting I was able to take a cliched subject and give it new life. So the next time you are stumped about shooting something that you love, and have photographed many times, try thinking about another way to interpret the scene; you just may surprise yourself and walk away with an image that you really enjoy


Louisville Waterfront at Night

One of the difficulties inherent in shooting night scenes is the large dynamic range needed to capture the scene. The artificial light in the image is usually much brighter than the surrounding areas. When this occurs the highlights are blown out which is almost always in the street lights. This image is one such situation. I shot this image using a five shot bracket series from +2 through -2 stops. Even at that range the centers of the lights are blown out in this image.

My studies of my images at night have led me to adopt a wider range of exposures to offset this undesired effect. My current practice is to go as many as five stops underexposed if I encounter scenes that have large ares of manmade lighting such as this one. I watch my histogram very closely and underexpose until I see the right hand side move completely away from the end of the histogram. I have discovered that by doing that I can subdue the blow outs that occur in the lights themselves.

I merged the five exposures in NIK HDR Efex Pro and then used the default setting as my base to tone map it. I then tweaked the sliders until it was where I liked it and finally returned it to Photoshop CS5 to sharpen it using the unsharp mask tool.

Compositionally I framed the shot with the sunset in the right hand third of the frame in order to balance it with the waterfront on the left. The sky counterbalances the architecture and the complimentary colors of the deep blue sky and the orange waterfront create a harmonious whole.

My point in sharing this image is to show you that the conventional practice of using an automatic bracket set to shoot the scene is not always going to give you control of the entire dynamic range. By using the histogram as a tool to analyze the images in your HDR shoots you can take control and prevent blown highlights such as the street lights in this image.


Color In Composition

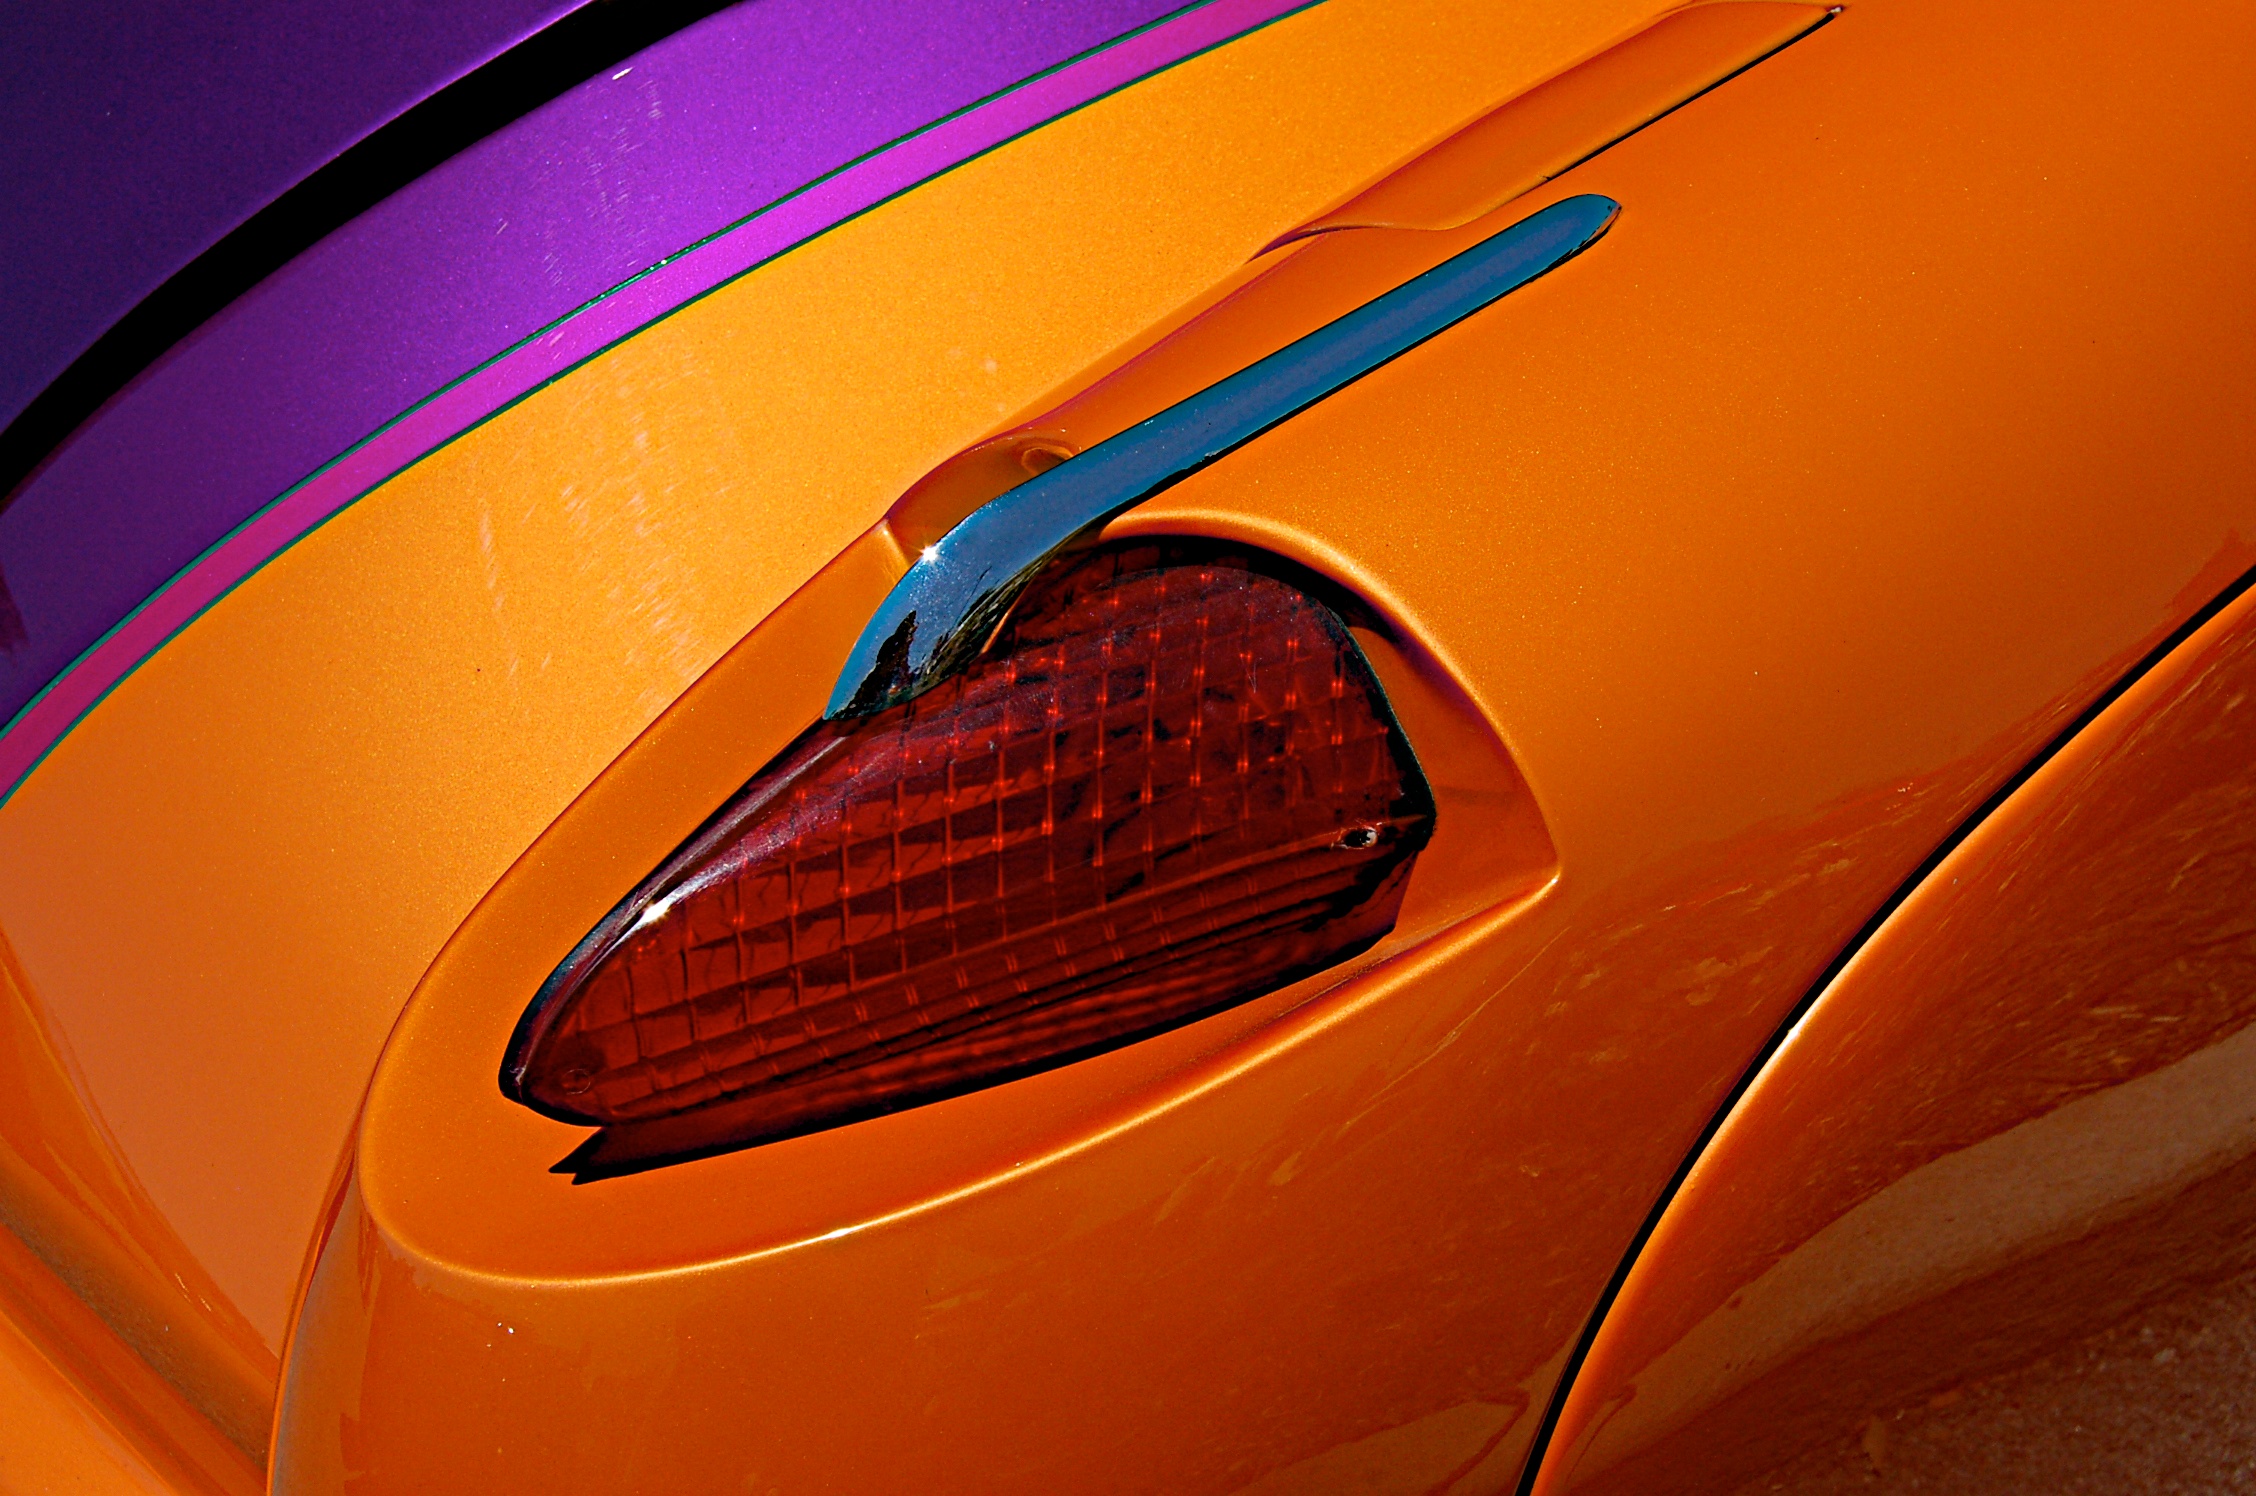
Sometimes color is all you need to create a memorable image. By using complimentary color this image is balanced and moves the viewer’s eyes into the frame. This image is pretty much straight out of the camera. I used a polarizer to avoid glare from the sun’s rays in this image which I shot during the middle of the day at the NSRA Street Rod Nationals. Since I took care to make a good image in camera the only thing I needed to do was to sharpen it in Aperture 3.