Tag: tone mapping

Lowering the Caisson into the Pier Casing

Lowering the Caisson into the Casing.

Click on the image to enlarge it in a new window.

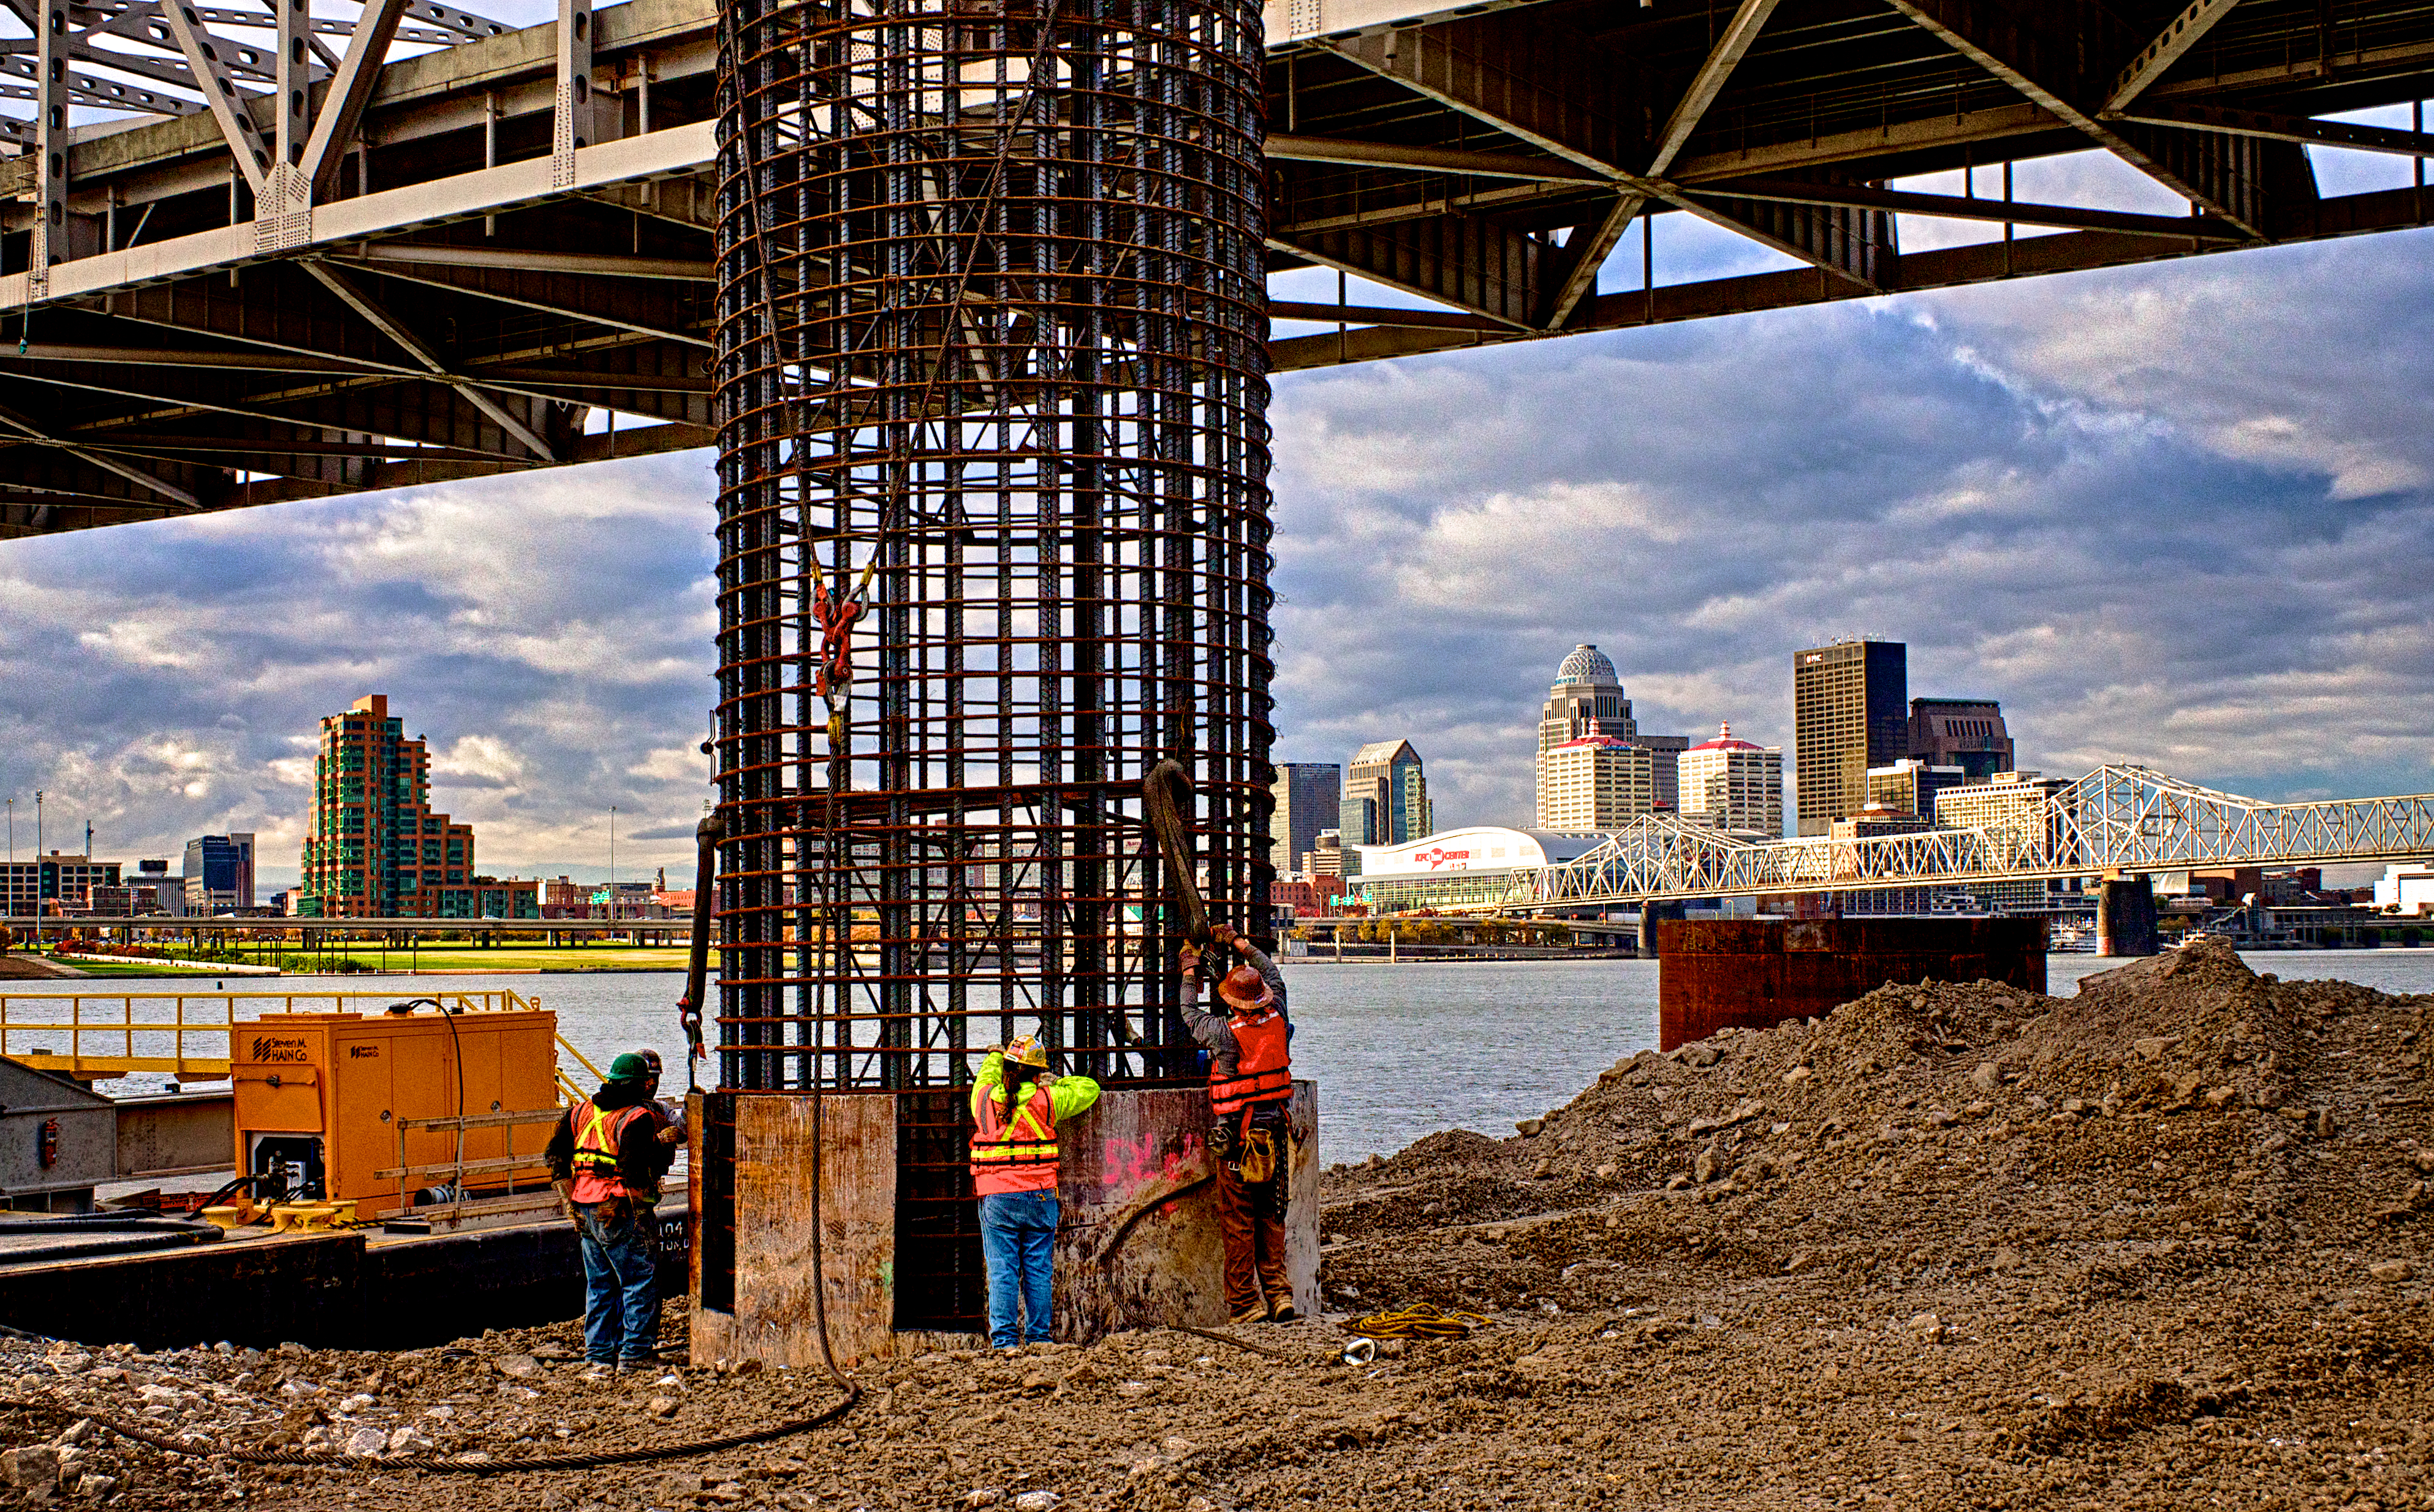
This HDR image shows the 60 foot long caisson as it is being guided, by the Ironworkers and Carpenters, into place inside the pier casing. After placing the caisson the next step will be to fill the pier with concrete. The steel casing sits on the river bottom and then the caisson fits into a rock socket has been bored 30 feet below the casing into the bedrock of the river bottom. This makes the total length on the pier nearly 60 feet from the surface to the base. The iron cylinder is there to both guide the drill during drilling and to form a protective shell for the pier once the bridge is built.

This image is from a three frame bracket set using -2, 0 and +2 EV settings. I merged the bracket set in NIK HDR Efex Pro 2 and because the workers were moving quite a bit I had to apply 80% anti-ghosting to isolate them and remove the ghosts of their arm movement. After merging and some mild tone-mapping in NIK HDR Efex Pro 2 I returned the merged file to Aperture 3 where I completed my processing by adjusting contrast, alignment, sharpening and the individual color channels to achieve the look I wanted for the final image.

Caisson Pick

Lifting the Caisson Into Place
Moving the Caisson Into Place

Click on the image to enlarge it in another window.

Yesterday morning the caisson for the bridge pier, 6R2, was moved into place inside the 12 foot diameter steel casing that will protect the bridge piers from damage once the bridge is finished and the river channel is reopened. The rebar caisson is over 60 feet long and moving it requires excellent coordination between the crane operator and the crew on the ground. The caisson must be precisely placed so that the connections to the next components of the tower can be completed. Not only are there Ironworkers involved but additionally there are Carpenters, Pile Drivers and Surveyors that have specific roles to play when these caissons are positioned. The men in the foreground are surveyors whose role is to make sure that the attachment points are properly aligned by accurately measuring exactly where the caisson is situated in the bore. Once all that is completed the cylinder will be poured full of concrete and the pier will be ready for the next piece to be attached.

This is a three frame bracket set of images shot at -2, 0 and +2 EV. The three images were merged in NIK HDR Efex Pro 2 to create the HDR image. After merging and tonemapping the image was returned to Aperture 3 for final processing.

HDR of Robyn Keith at Work

Robyn Keith  #2
Robyn Keith #2

Click on the image to enlarge it in another window.

The woman in this image is Robyn Keith. Robyn is a carpenter and I wanted to capture her at work with the rising sun behind her. The light was really rich the morning I shot this and the sparks flying from her cutting wheel also caught me eye. I also liked the way the morning sunlight was reflecting off the surface of the concrete form that she was working on and tying the sparks, the sunlit sky and the reflections together.

This HDR image was created in NIK HDR Efex Pro 2 from my standard bracket set of +2, o and -2 EV. Because she was moving slightly while cutting off the rebar, I had to apply 80% anti-ghosting to eliminate some ghosting around her head. When applying anti-ghosting I always strive to use the smallest percentage possible to avoid creating other artifacts in the image. In this case 80% was the lowest amount I could use; anything less than that amount left ghosts of her head and hands. I could have dealt with that issue inside Photoshop but the anti-ghosting settings in NIK HDR Efex Pro 2 usually are a much simpler approach and work very well in most cases.After merging the three frames I applied the Balanced preset to do my basic tone-mapping. I like to use that preset because it adds a small amount of contrast to the initial merger and sets the stage for me to adjust the shadows and highlights without adding too much of an over-processed HDR feel to the merged files. As usual I returned the merged files to Aperture 3 where I completed adjusting it and sharpened it.

B&W HDR Image

Drilling Equipment #2

Click on the image to enlarge it in another window.

Using HDR to create a B&W is another way to exploit the broad dynamic range that a HDR image gives me. This image was created from a three frame bracket set that I first processed in NIK HDR Efex Pro 2.

After tone mapping and adjusting the contrast I returned the image to Aperture 3 for final color adjustments and sharpening. After finishing it there I decided to use OnOne Perfect B&W to convert it to a monochrome image. I liked the composition and the way the conversion turned out which is why I’m sharing it with my readers.


Nick Roberts – Using HDR Photography to Create Your Own Personal Style Workshop in Louisville, KY, United States Rescheduled to November 9, 2013

Entrance to the Big Four Bridge, Louisville, KY

This workshop has been rescheduled to November 9, 2013.

===================================================

Nick Roberts – Using HDR Photography to Create Your Own Personal Style Tickets in Louisville, KY, United States.

I will be presenting another HDR workshop Saturday November 9, 2013. If you are confused about the How and Why of HDR image making this is the workshop for you. The workshop will cover how to shoot HDR,  how to process your images using NIK HDR Efex Pro 2 and how to finish them in your favorite image editing software. We will also touch on using plug-ins from OnOne, Topaz Labs and other NIK software apps.

The workshop structure is very hands on; you will be working on your own laptop using files I provide to learn how to merge and finish them as HDR images. Afterwards we will use images that the participants provide on their own to better grasp the core concepts.