The Slugger Field Section of I-65 is moving along well as the Carpenters build new bridge piers for the next section of roadway. These piers and caps will carry the new southbound section highway. In this group of images you can see the many different steps required to build the foundation for the new roadway as it passes Slugger Field.
Click on any image to open a slideshow of all the images in this post.
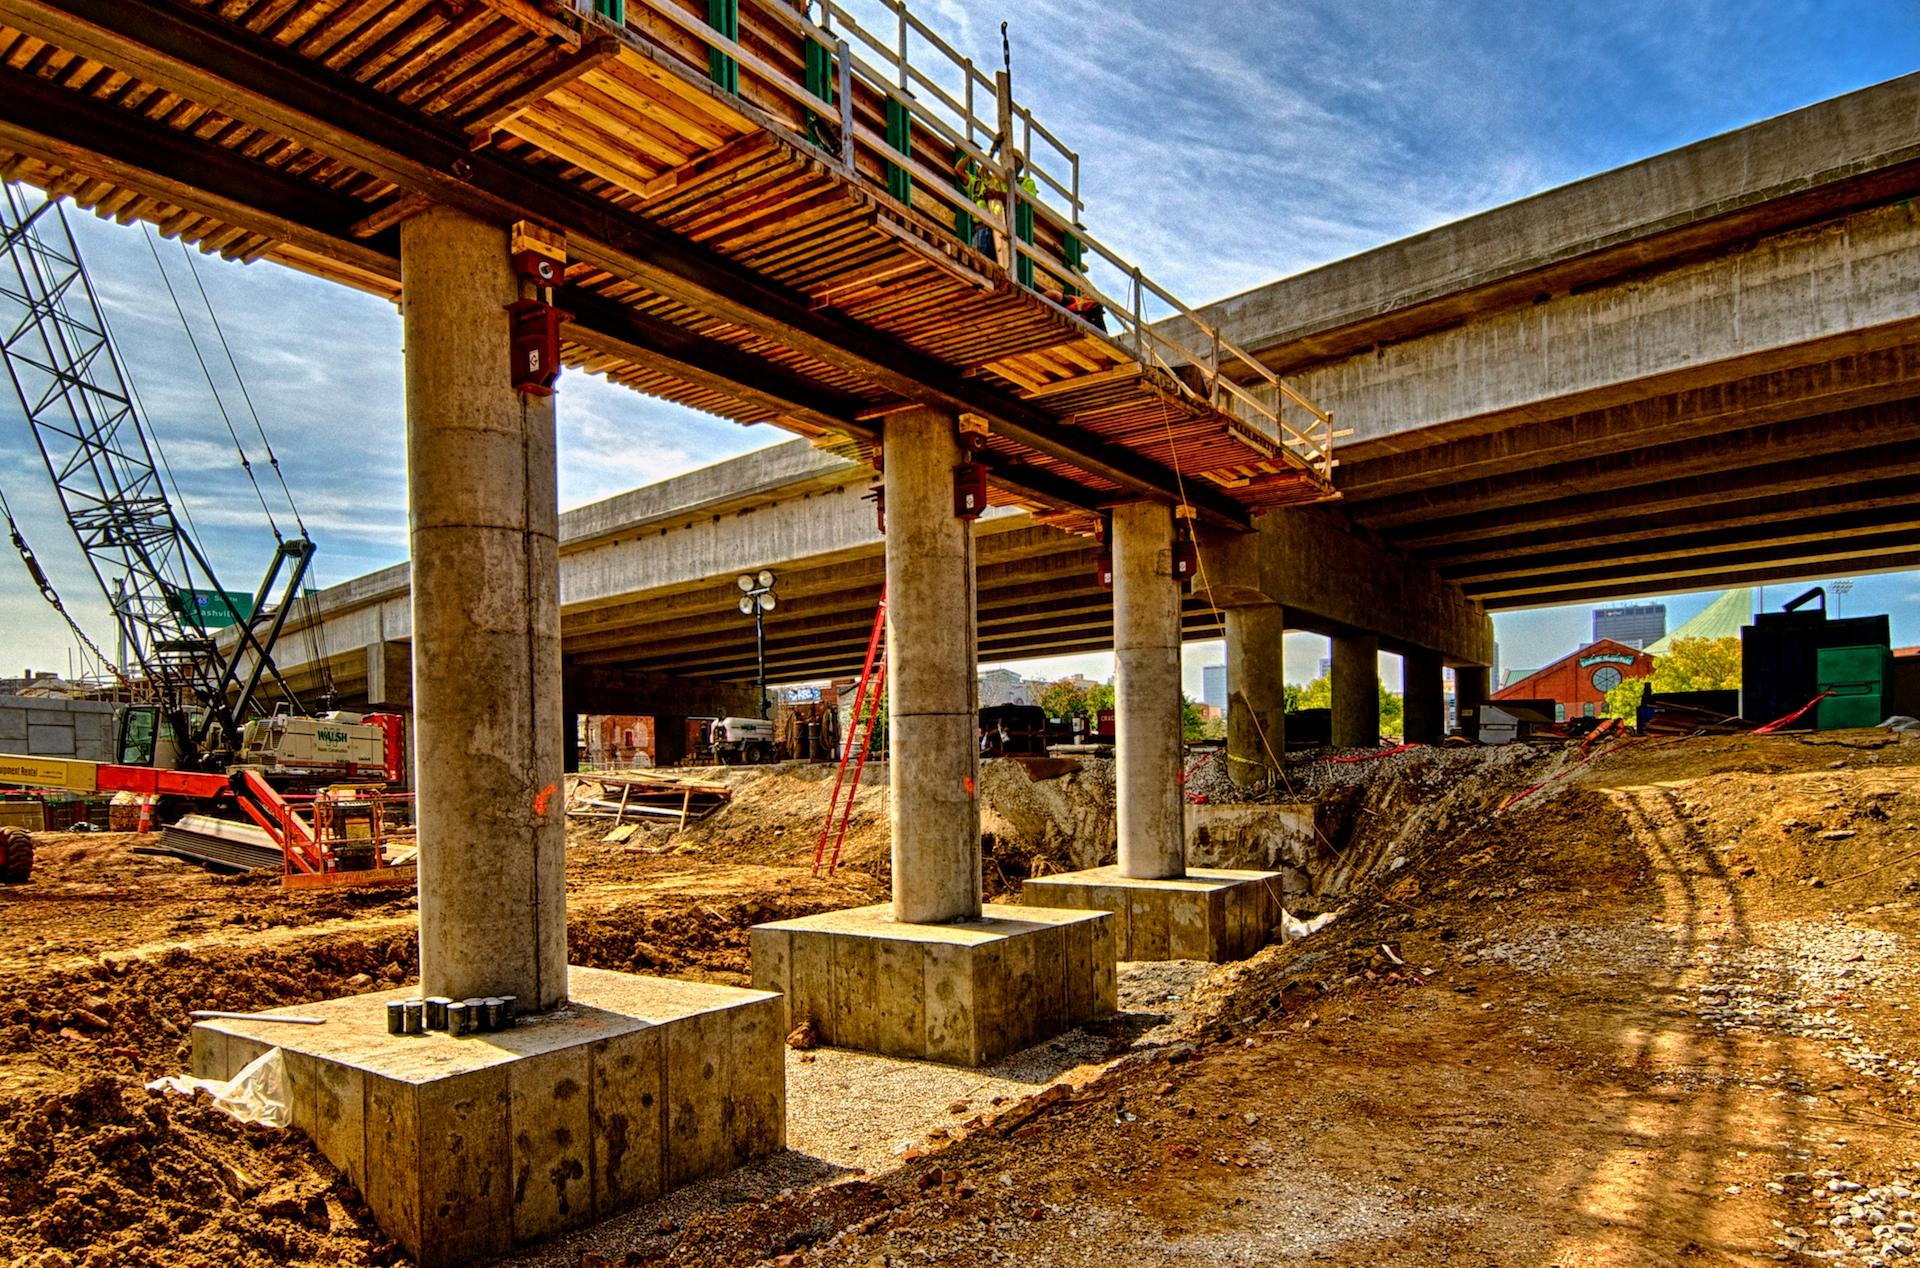
The image above shows the piers and their bases before the earth is filled in around them. The structure on top is the floor for the concrete form that contains the cap. Behind them you can see the newest section of roadway that was built last winter and spring. Soon another array of bridge beams will be placed on these piers and the process will repeat itself.
Click on any image to open a slideshow of all the images in this post.
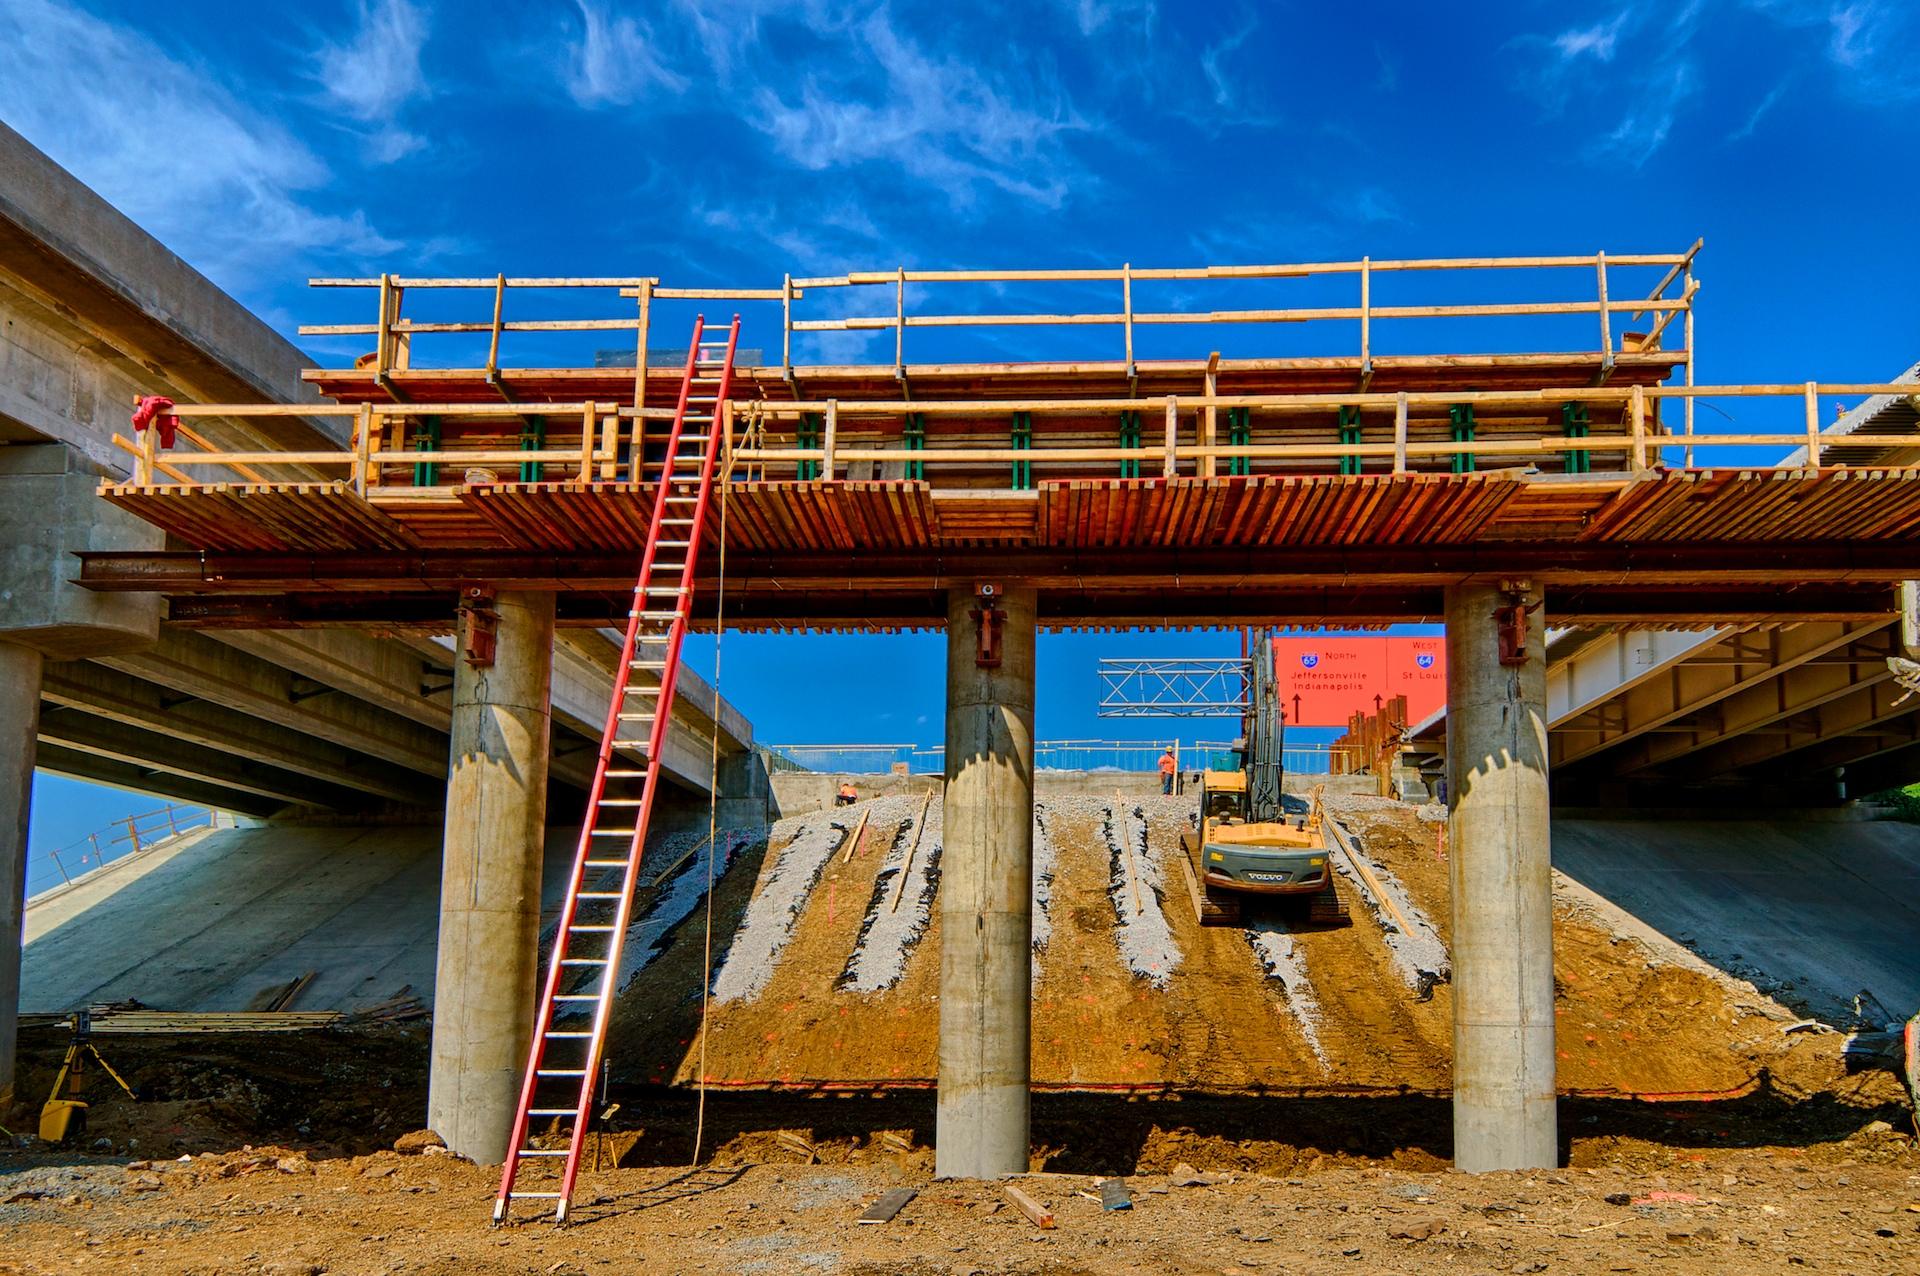
In the image above you can more clearly see the cap form in place on the piers. The new roadway is on the left and the existing I-65 roadway is on the right. Once the new beams are in place and the roadway for that section is in place traffic will be moved onto it and the old roadway and bridges will be demolished. None of the original I-65 structure will be reused for the new highway.
Click on any image to open a slideshow of all the images in this post.
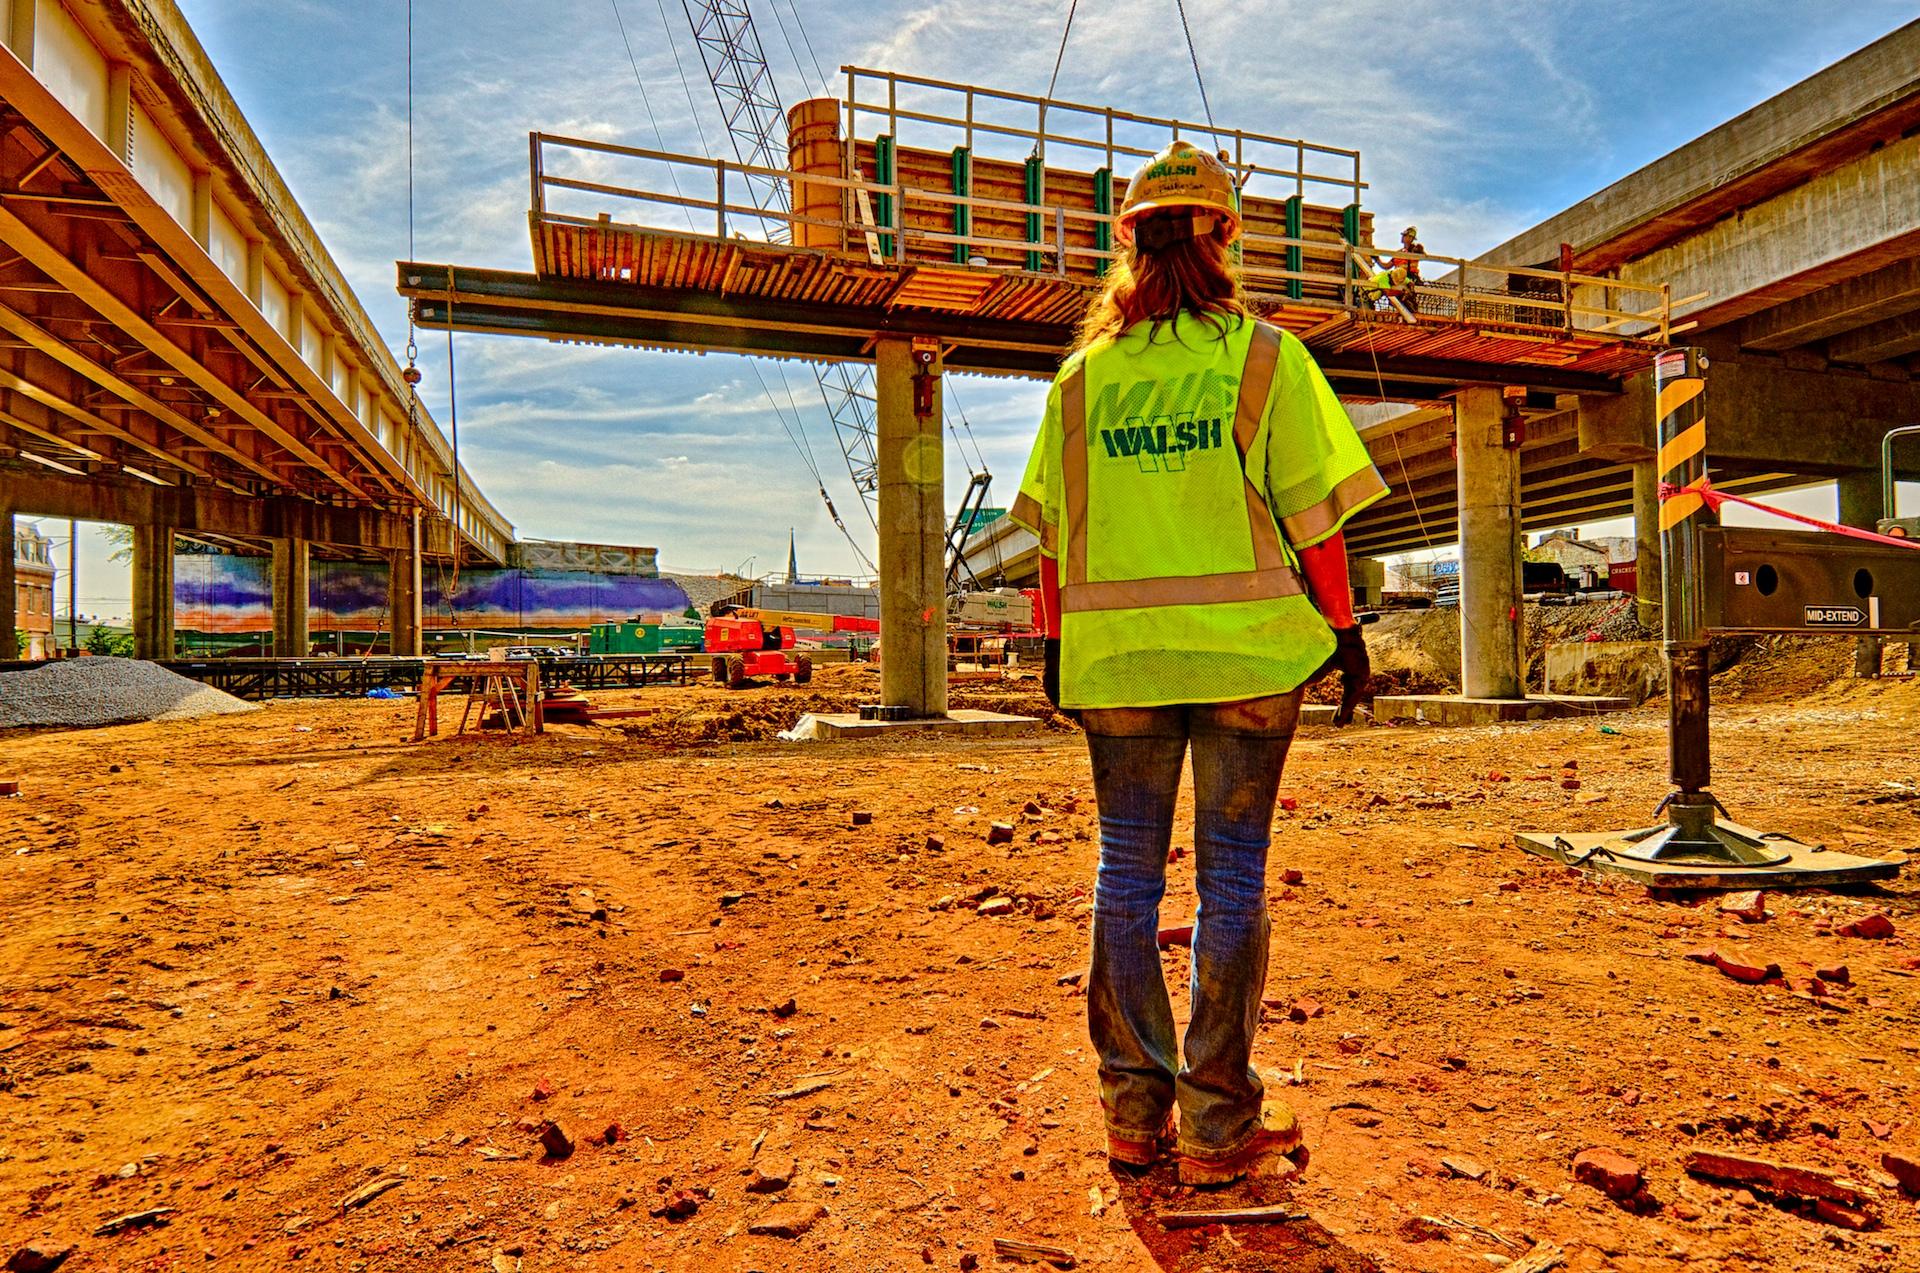
I first met the woman in this photo, JoAnn Dearborn, almost one year ago. Joann is a Carpenter Apprentice who tells me that she loves the work she is doing. I happened to shoot her on September 18, 2013 on her first day on the job. Prior to that she was working as a laborer in a salvage yard and was looking forward to learning the Carpenter’s Trade. Now she is an old hand and can explain the materials and processes they use in detail. It is amazing to see the confidence she has acquired in just one year.

Click on any image to open a slideshow of all the images in this post.
In the above photo the Carpenters are removing the forms that were used to contain the cap when it was poured. After the forms are removed the concrete cap is wrapped in wet burlap and plastic and given a week to cure before they remove the rest of the formwork and move it to another cap.
Click on any image to open a slideshow of all the images in this post.
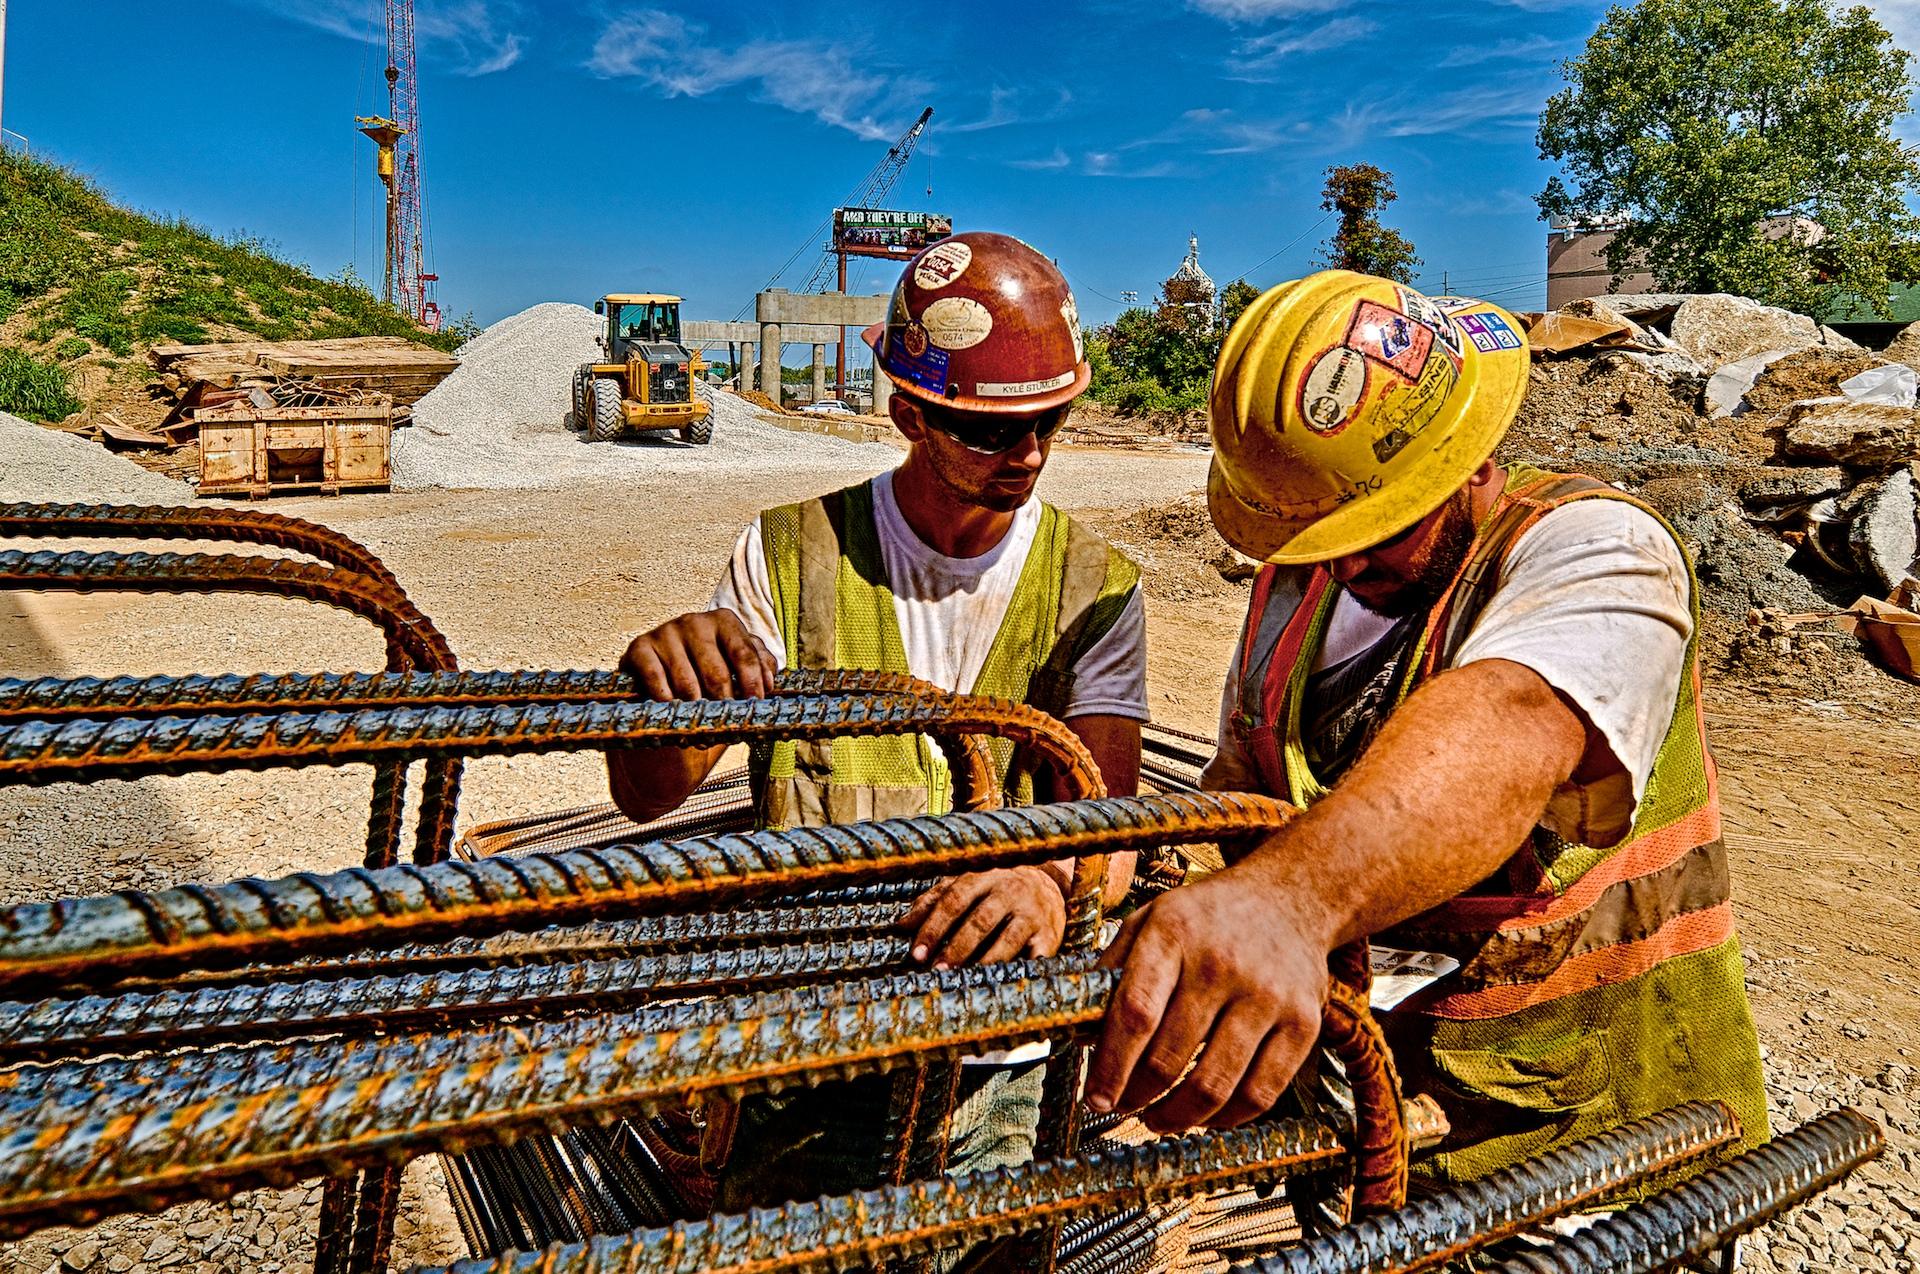
These two Ironworkers are reviewing a set of plans for the rebar structure they are building. The finished structure will be lifted into place on top of bridge piers and form the internal skeleton of another cap. In order to do this type work the Ironworkers need to be able to read blueprints, handle tons of steel reinforcing known as rebar and apply math skills such as trigonometry. There are so many skills that these Ironworkers must master that we as observers never even consider or recognize.
Click on any image to open a slideshow of all the images in this post.
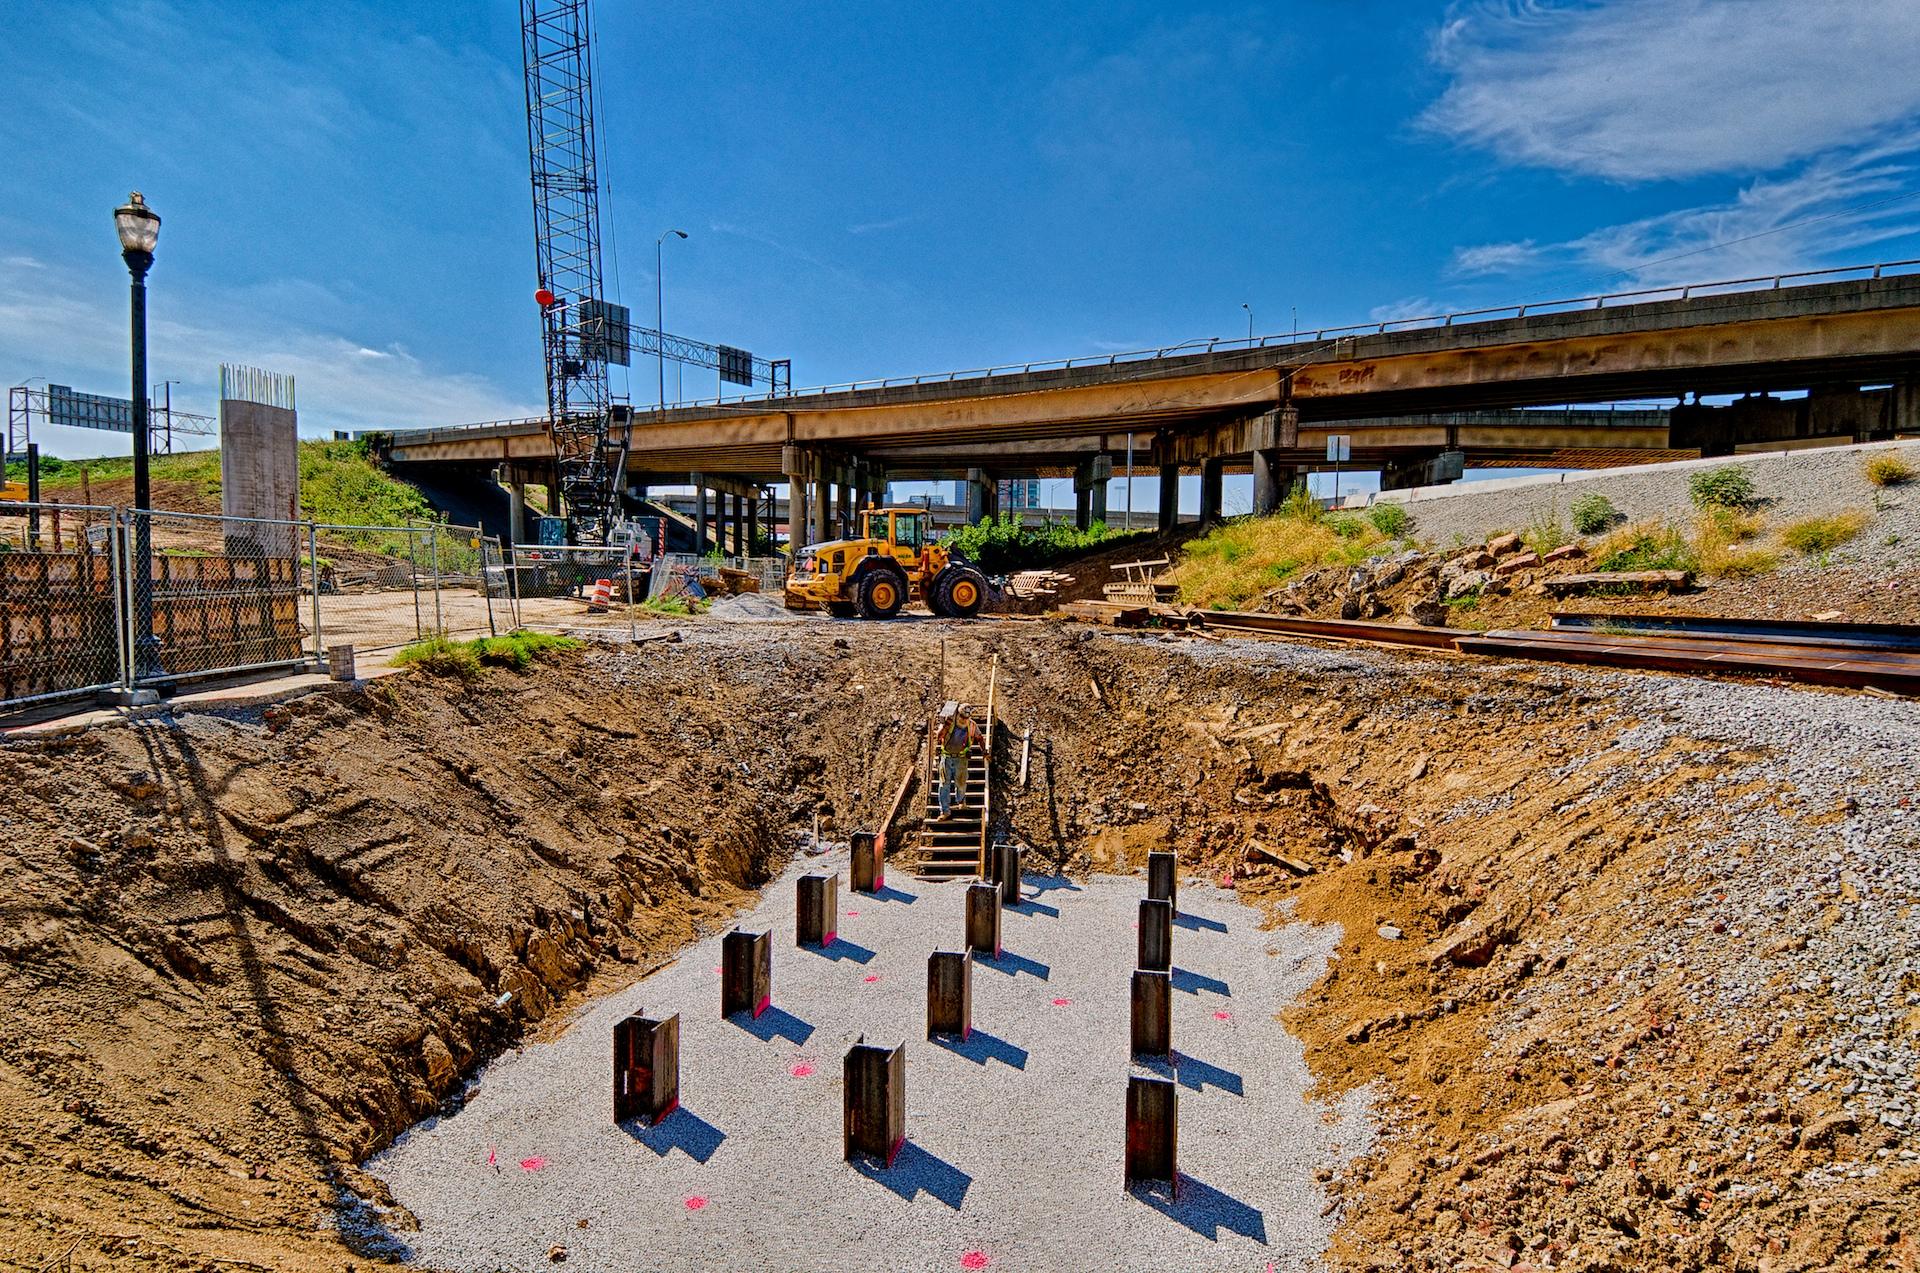
The above image shows the pilings that have been driven into the ground until they hit bedrock. In many cases that can be as deep as 150 feet or more. On the right side of the image you can see the piling “H” beams lying on the ground. They are usually around 70 feet long and 1 foot across. The Ironworker descending the steps is Jim “Jimbo” Clark. He is carrying a bundle of concrete bricks that will be used to support the rebar “mat” that they will build inside the form.
Click on any image to open a slideshow of all the images in this post.
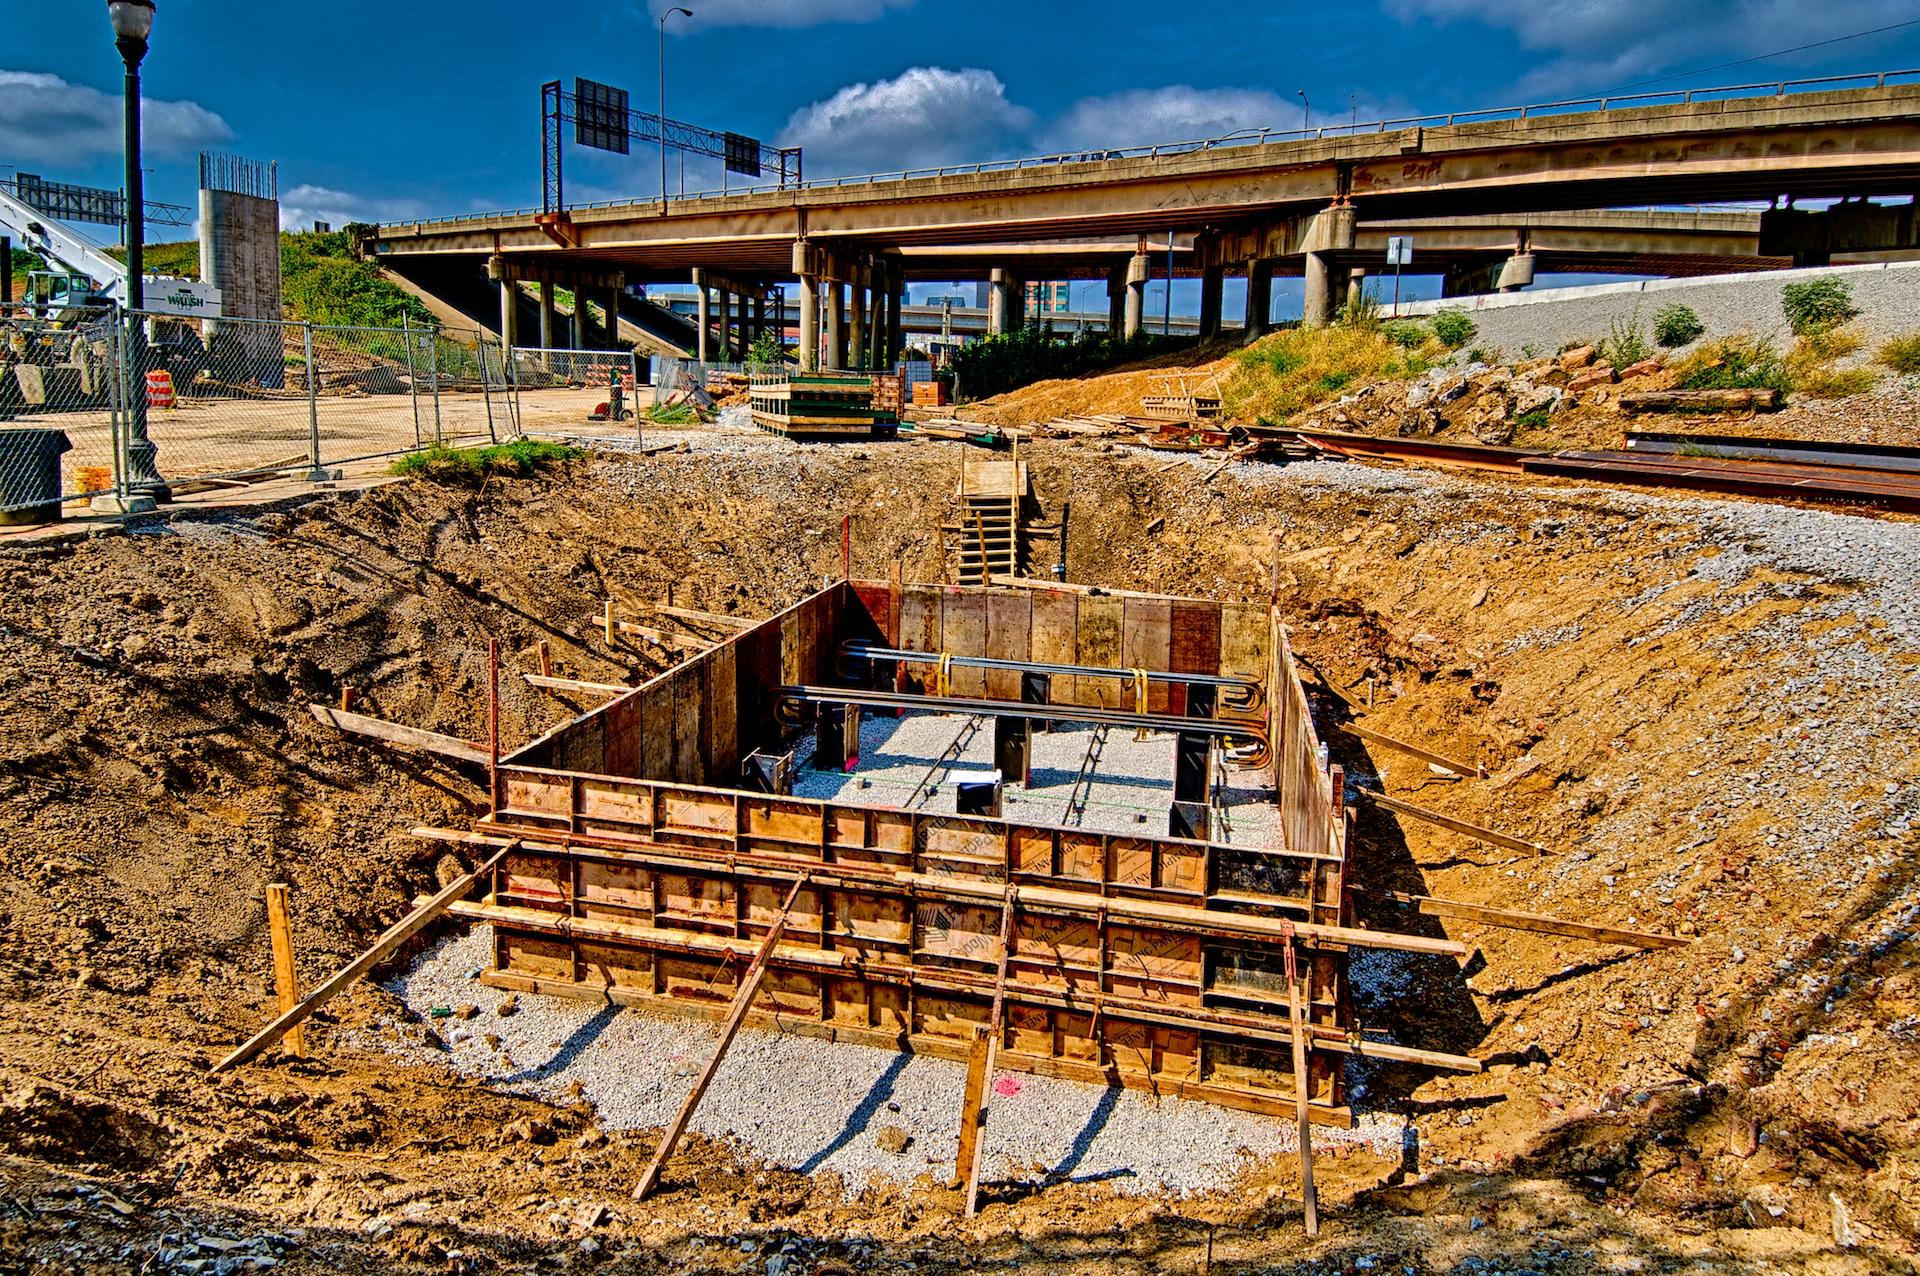
Once they are in pace a deep layer of gravel in placed around them and compacted. After that the pier base on which the bridge columns rest will be formed, rebar tied into it and finally the concrete will be poured.
Below is a little bit about the way I processed these images.
All the images in today’s post are HDR images processed using Aperture 3, NIK HDR Efex Pro 2, Adobe Camera Raw, Photoshop CS5 and NIK Viveza. I shot three frame bracket sets of +2, 0 and -2 EV exposures. I cataloged them using Aperture 3 then I opened them in NIK HDR Efex Pro 2 where I merged them and applied either the default preset or the balanced preset. After merging them and returning them to Aperture 3 I adjusted them for straightness before taking them into Adobe Camera Raw where I applied Scott Kelby’s ACR workflow and then opened them in Photoshop CS5. In CS5 I made a levels adjustment, applied some lens correction when needed and sharpened the image. I then added another layer where I used the NIK Viveza plugin to give a little added color and detail to the final image. This is the first time I have used Viveza this way and I like to results.
